Post #1
I follow this instruction exactly, but STEP 5 i get lost. Any options to add registy key wont appear.
Any advice?
Thanks.
BMW ISTA‑PLUS 4.57.30 — Installation & Setup Guide
Important notes:
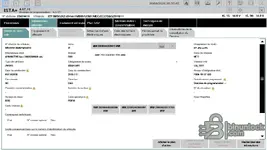
Step 1. Extract main archive
1. Unpack
Step 2. Create shortcut
1. Make a desktop shortcut for:
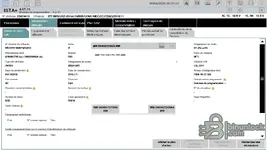
Step 3. Extract config data
1. Go to:
2. Unpack
Step 4. Set system variables
1. Run as admin:
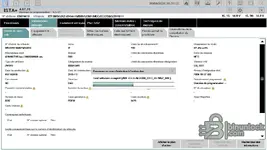
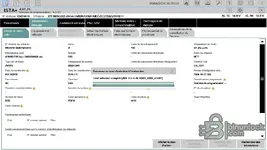
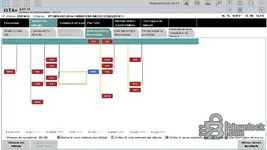
Step 5. Select operation mode
Option A. Diagnostics only
1. Add registry key:
Option B. Full programming
1. Add registry key:
Step 6. Install PSDZdata (for programming)
1. Download full PSDZdata pack (e.g., from:
2. Extract to:
Step 7. D‑CAN interface setup
1. Before launching ISTA, go to:
2. Run:
3. Press any key to select interface.
4. Set parameters:
- Interface: COM3
- Latency timer: 1
Final steps:
1. Always launch ISTA as administrator.
2. System is ready for use.
Warning:
Any advice?
Thanks.
BMW ISTA‑PLUS 4.57.30 — Installation & Setup Guide
Important notes:
- Run as administrator only.
- OS: Windows 10/11 x64.
- Standalone operation (no need for standard tools or EDIABAS).
Step 1. Extract main archive
1. Unpack
ISTA.rar to: C:\ISTA\Step 2. Create shortcut
1. Make a desktop shortcut for:
C:\ISTA\TesterGUI\bin\Release\ISTAGUI.exeStep 3. Extract config data
1. Go to:
C:\ISTA+4.57.30\config\ 2. Unpack
BMW.rar to: C:\ProgramData\Step 4. Set system variables
1. Run as admin:
ISPIDATA System VariablesStep 5. Select operation mode
Option A. Diagnostics only
1. Add registry key:
ISTA+ 4.57.30 diagnostic onlyOption B. Full programming
1. Add registry key:
ISTA+ 4.57.30 full programmingNote: All required data is included (no extra lite data needed).
Step 6. Install PSDZdata (for programming)
1. Download full PSDZdata pack (e.g., from:
https://binunlock.com/resources/psdzdata-full-ecu-programming-data-pack-for-e-sys.229/) 2. Extract to:
C:\ISTA\PdZ\data_swi\Step 7. D‑CAN interface setup
1. Before launching ISTA, go to:
C:\ISTA\tool\ 2. Run:
Switch ICOM-ENET or DCAN (com3) 3. Press any key to select interface.
4. Set parameters:
- Interface: COM3
- Latency timer: 1
To revert to ICOM‑ENET: run the switch again and press any key.
Final steps:
1. Always launch ISTA as administrator.
2. System is ready for use.
Warning:
- This is the latest version, not fully tested.
- Exercise caution when programming ECUs.